
Last updated November 15, 2026
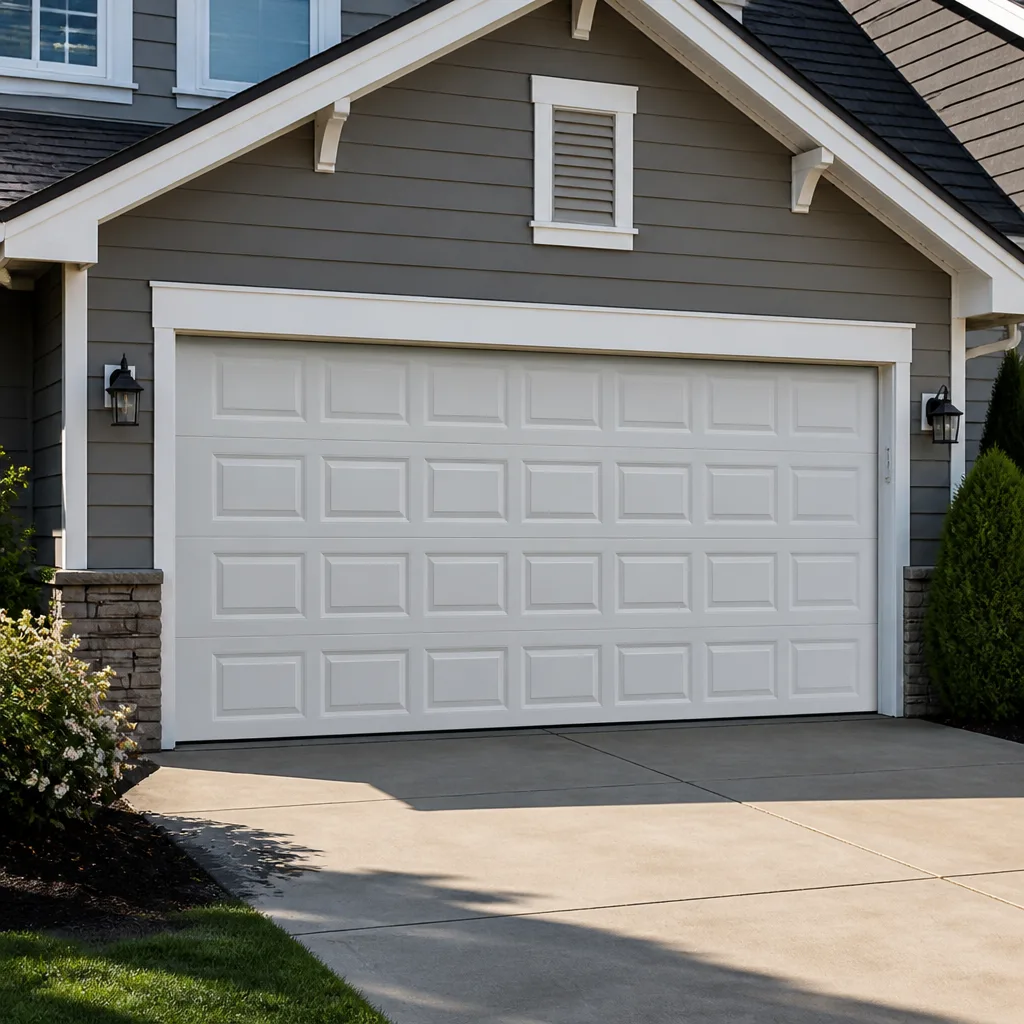 Raised-panel steel
 Carriage house
 Modern flush
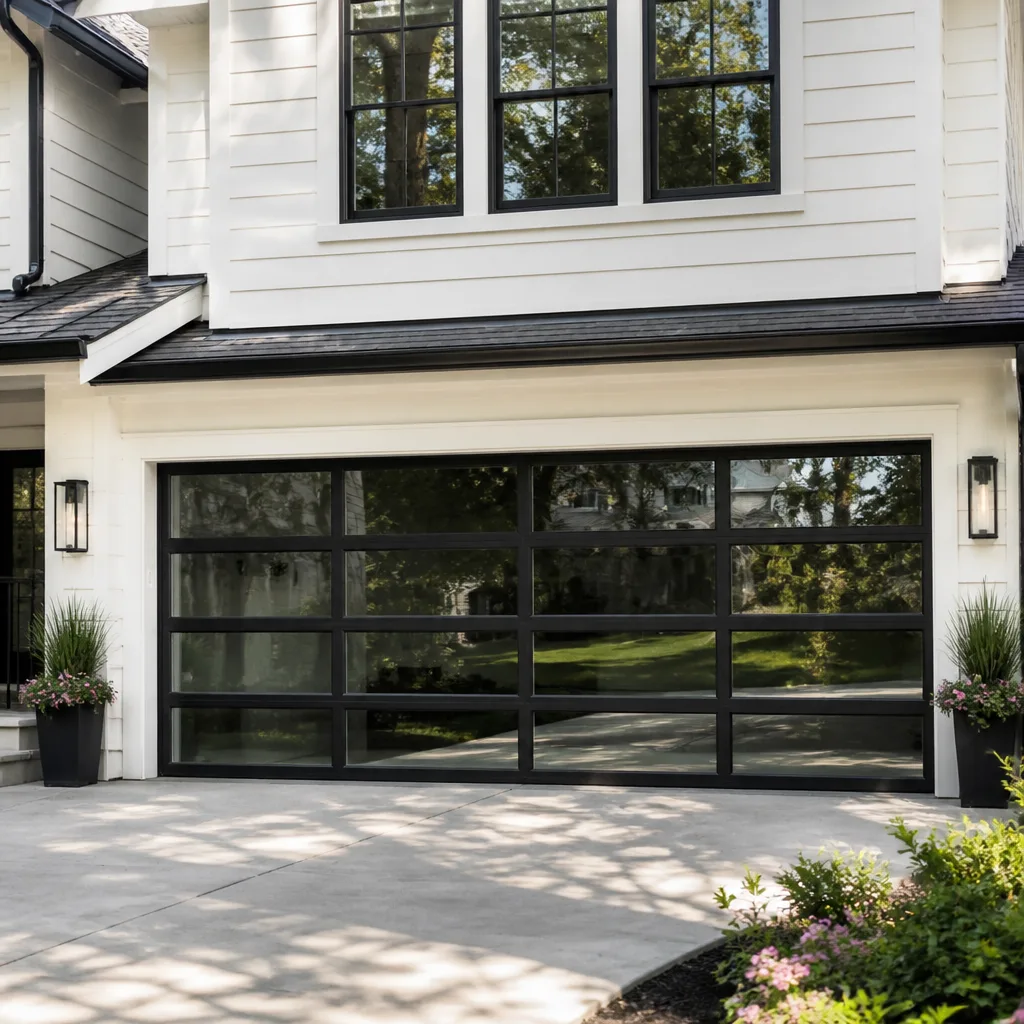 Full-view glass
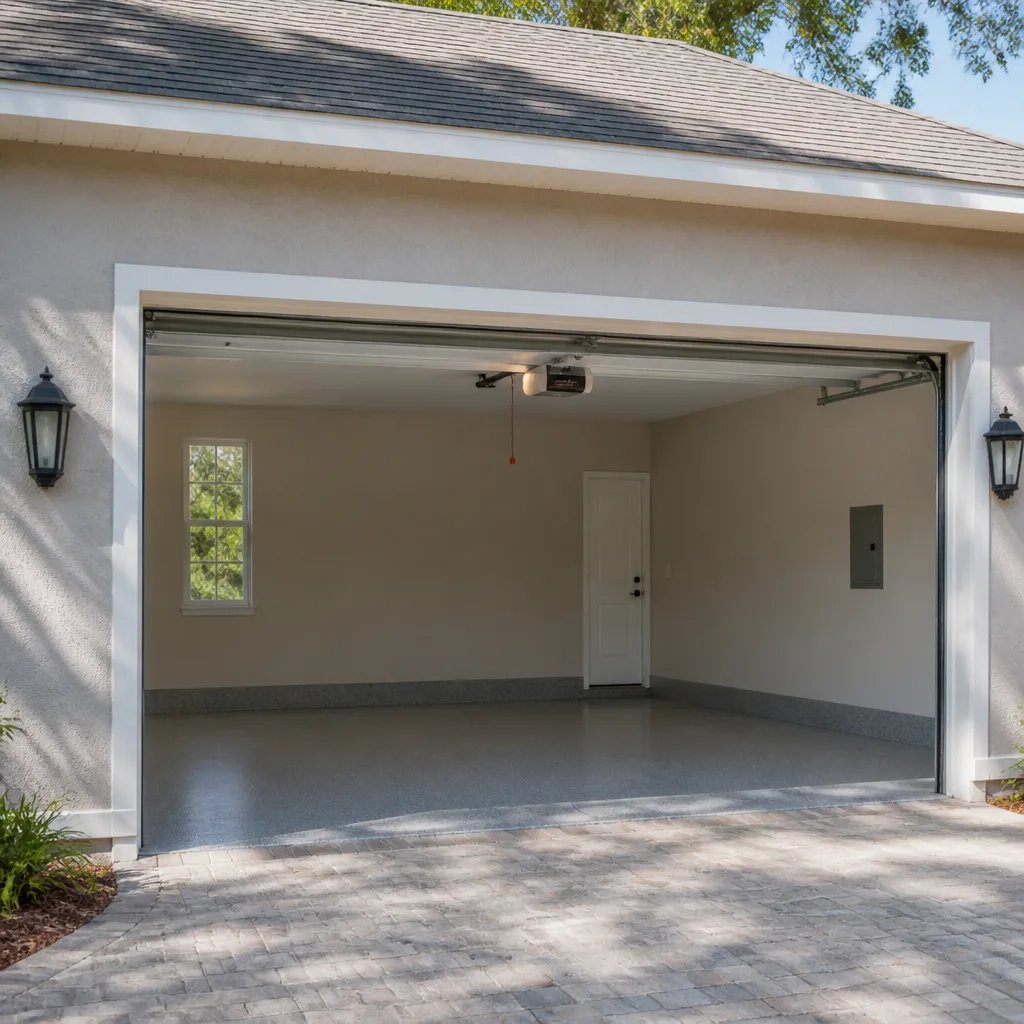 LiftMaster openers
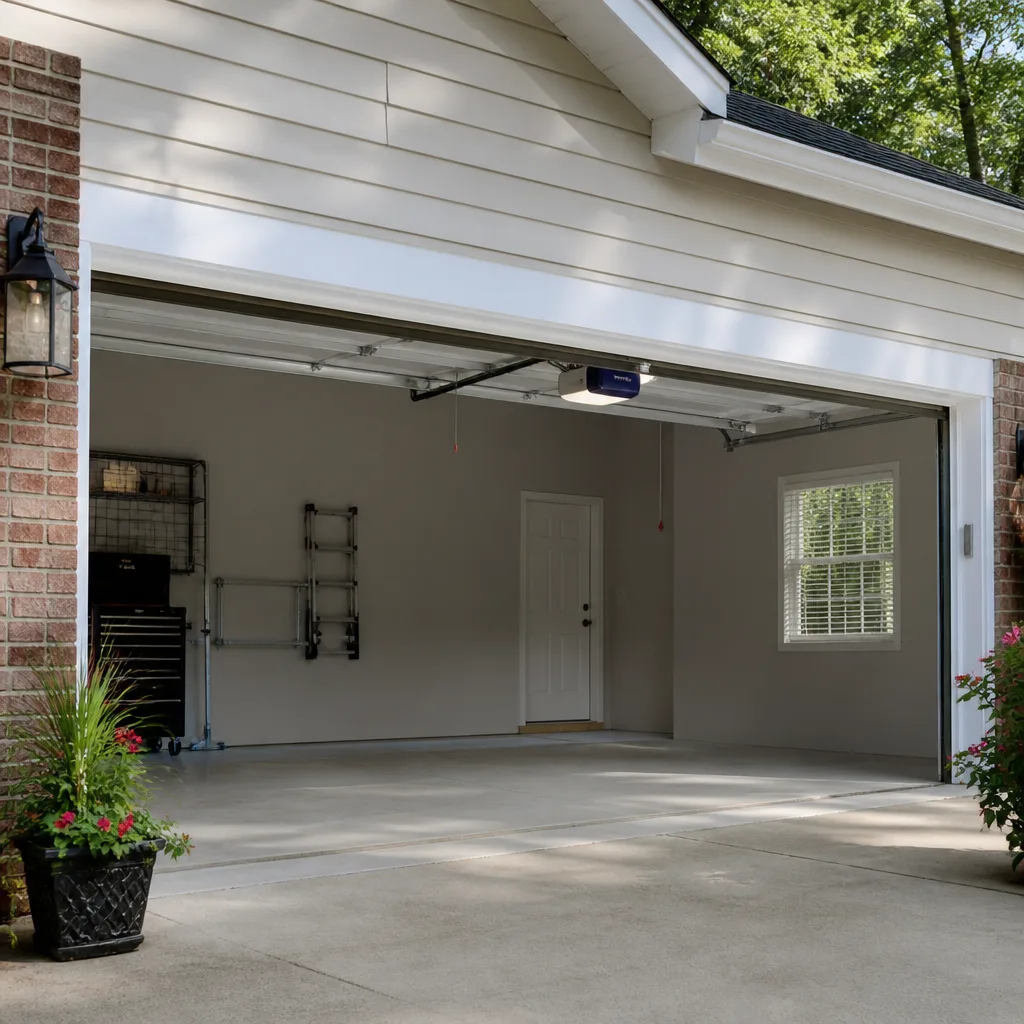 Chamberlain openers
Full 25-point door and opener safety check with every visit - springs, cables, rollers, tracks, and your LiftMaster or Chamberlain opener included
You get a price before we start. It does not change when the pro arrives.
Get your free estimateGarage Door Repair Maintenance Checklist for Syracuse Homeowners
Here’s the counterintuitive part: the most preventable cause of garage door failure in Syracuse isn’t a snapped spring or a dead opener. It’s a bottom seal nobody replaced after one hard winter. Once that rubber hardens and cracks, meltwater wicks up into the bottom panel, and the panel rots from the inside out. You won’t see it until the wood is soft. Most of what we’re called out for across Syracuse traces back to a small, ignored part. This guide gives you a month-by-month checklist built around how doors actually fail here, with each task tagged so you know what to handle yourself and what to leave to a technician.
Quick Answer
A garage door maintenance checklist for Syracuse should focus on the freeze-thaw cycle, road salt, and heavy lake-effect moisture. Check the bottom seal and threshold gasket every season, lubricate moving hardware monthly, test the door’s balance and safety reverse twice a year, and inspect springs and cables by eye only. Plan on an annual professional tune-up, and expect to replace a bottom seal after most hard winters.
Styles & brands we work with
- Raised-panel steel
- Carriage house
- Modern flush
- Full-view glass
- LiftMaster openers
- Chamberlain openers
Table of Contents
- A Month-by-Month Breakdown for Syracuse Weather
- The Hardware That Corrodes Fastest in Syracuse
- What to Check on the Weather Seal After a Freeze-Thaw
- How to Self-Test Spring Tension Safely
- Safety Reverse Test and Balance Check
- Opener Care: What Matters on Your Make and Model
- DIY vs. Call-a-Tech: The Tagged Checklist
- When a Professional Should Look at It
A Month-by-Month Breakdown for Syracuse Weather
Generic checklists split the year into “spring” and “fall.” That’s too simple for Syracuse, where a November thaw can open up a door, then a January deep freeze can lock everything solid, then a March ice storm stresses the seals all over again. Our month-by-month version follows those transitions. The idea is to catch a problem in the season before it turns into a repair. You don’t need special tools for most of these; a rag, a lubricant, and ten minutes are enough.
- January – February (deep cold): Keep a visual eye on cables and springs for frost buildup and rust bloom. Cold makes metal brittle, so a cable that’s fraying is more likely to let go now. Don’t force a door that’s frozen to the ground; free the seal first, gently.
- March – April (freeze-thaw): This is the big one. Inspect the bottom seal and threshold gasket for cracks and gaps. Clean out grit and ice melt that got trapped under the door. Check the floor where the rubber meets it for water pooling.
- May – June (spring cleanup): Wash the hardware and treat any rust you spot. Lubricate hinges, rollers, and the torsion shaft. Test the safety reverse and balance. This is the ideal window for an annual professional tune-up before summer heat.
- July – August (heat and humidity): Heat can warp a wood panel slightly and swell the bottom section. Check that the door still closes flush and that the seal stays in contact along the whole threshold.
- September – October (pre-winter prep): This is your last comfortable chance to replace a worn seal before the freeze. Inspect springs, cables, and the opener’s force settings. Tighten any loose track and hinge bolts.
- November – December (first freezes): Confirm the weather seal still sits tight. Watch for scraping sounds as ice forms. Make sure the opener reverses correctly before the first hard overnight freeze.
That rounds out the year. If you do nothing else, hit March through April and September through October hard. Those two windows prevent more garage door repair calls in Syracuse than any other time. The transition seasons are when hidden damage shows up.
The Hardware That Corrodes Fastest in Syracuse
Road salt is the quiet enemy here. When slush comes off the car and drips onto the door’s hardware, the salt-laden moisture sits on the moving parts. Add lake moisture in the air during the thaw and the corrosion accelerates. The parts that show it first, in our experience, are the hinges, the roller stems, the bottom brackets, and the fasteners where the track bolts to the frame. If you have a Craftsman or Raynor door with painted steel tracks, you’ll see a whitish bloom appear there after a couple of winters. It’s not a structural problem yet; treat it early and the hardware lasts. Let it sit and it binds the door.
What to do:
- Wipe every hinge and roller stem with a clean rag to strip off grit and salt film.
- Apply a garage-door-safe lubricant to the hinges, the roller stems, the torsion shaft, and the bearings. Not to the tracks.
- Check the bottom brackets and their bolts for rust; a stiff bottom bracket is a real safety concern, so don’t coat over it. Have a tech look if it’s frozen.
- Never oil the tracks; they need to stay clean and dry. Clean them with a rag and mild soap if they’ve picked up grit.
- If a cable shows rust along its strands, don’t try to clean it; have a technician check it. Rusted cable is a break risk, and cables are under extreme tension.
In our experience, doors that get a wipe-and-lube in late fall and again in early spring hold their hardware far better through the salt season. The whole job takes ten minutes. This is maintenance you can absolutely do yourself. No special tools needed beyond a lubricant and a rag.
What to Check on the Weather Seal After a Freeze-Thaw
After a Syracuse thaw, the weather seal and the threshold gasket are the two parts most likely to have taken damage. They’re also the cheapest to replace and the most ignored. The freeze-thaw cycle is brutal on rubber: it swells on a warm afternoon, contracts overnight in the cold, and after enough cycles a flexible seal becomes stiff and cracked. What you’re looking for after the freeze is a seal that no longer presses flat against the floor, a gap you can see daylight through, or a rubber that has hardened into a brittle strip.
A quick walk-around gives you the full picture:
- Look along the floor where the door meets the concrete. Sight under the door with a flashlight from the inside on a sunny day. Any gap wider than a few millimetres means the seal is past its useful life.
- Feel the bottom rubber. If it crumbles or feels like hard plastic, it’s done.
- Check the threshold gasket if you have one – the shaped strip that sits on the concrete under the door. It should be intact and clean; if it’s cracked or lifted, that’s another place water gets in.
- Check the bottom panel’s wood or steel edge where the seal attaches. Moisture wicking here is what rots the panel, so if you see staining or soft spots at the bottom edge, act now.
- Clean the seal and put a light coat of silicone-based protectant on it after every freeze-thaw. It’s preventative, not a cure for an already-bad seal.
If the seal is worn, replace it. Don’t wait for spring. A failing bottom seal is a moisture problem, and a moisture problem in Syracuse leads to a rotted base panel that costs several times more than a seal. If you’re not sure whether the base is still sound, call a technician to look. If it all checks out, this is pure DIY, and one of the highest-value tasks in the whole checklist.
How to Self-Test Spring Tension Safely
Here’s where we draw a clear line between what you can check and what you must not touch. Springs and the cables that run with them are under extreme mechanical tension. This is a genuine injury risk; every year technicians deal with homeowners who’ve tried to adjust a spring and been hurt. Our advice is simple: you can look, you can listen, but you don’t adjust, wind, or remove a spring. That’s a job for a trained professional, full stop. What you can do is run a safe balance check that tells you whether the spring is doing its job. If it isn’t, you call.
How to check balance safely, without getting your hands near the spring:
- Stand to the side of the door, not under it.
- Lift the door about a foot by hand and let it go. It should feel manageable, not impossibly heavy.
- Move the door to about halfway, let it go, and see what it does. It should hold roughly in place.
- Open it about three-quarters and let go. It shouldn’t come crashing down.
If the door drops quickly, slams down, or feels very heavy to lift, the spring is likely losing tension. That’s the threshold. Stop testing and call a technician. The specific signs that it’s time to stop doing anything yourself:
- The door won’t stay open at halfway.
- You hear a loud metallic pop and the door becomes very heavy to lift.
- You see a visible gap in the coiled spring.
- One spring of a pair looks uncoiled or broken while the other looks normal.
In those cases, don’t run the opener either. Forcing a door with a broken spring strains the opener and cables. Our experienced technicians replace and tension springs safely, and a spring priced for one is roughly half the cost of a matched pair, which is usually what a door with two springs needs. If you’re not sure, call us to diagnose it before anything else.
Safety Reverse Test and Balance Check
The safety reverse test is two checks that every homeowner should run twice a year: the photo-eye test and the mechanical reverse test. Both are fast and safe and they’re the two most important safety features on the whole system. A door that closes on an object, a child, or a pet is a serious hazard. The good news is the test takes a minute and both are pure DIY.
Run the photo-eye test first:
- Look for the two small sensors mounted near the floor on each side of the door. They’re the ones facing each other across the opening.
- Wipe the lenses clean; a muddy New York winter leaves film on them and they misread.
- Close the door and pass a broom handle or your foot through the beam. The door must stop and reverse. If it doesn’t, stop using the door and call for a technician.
Then the mechanical reverse. With the door closed, place a small block of wood flat under the door on the floor and press the button to close it. The door should contact the block and reverse within the first couple of inches. If it pushes down on the block instead of reversing, the force setting is too high. That’s the point to call a tech. These two tests are exactly where a lot of older doors fail our checks.
Alongside the reverse test, run the balance check from the section above twice a year too. Together those three checks are the whole safety picture. If any of them doesn’t pass, leave the door off and call. We work on what you already have, and we’re glad to run these checks for you if you’d rather not do the ladder work yourself. The point isn’t a DIY failure; it’s a safe door.
Opener Care: What Matters on Your Make and Model
Openers are usually a maintenance afterthought until they stop. The truth is a few minutes of care extends an opener’s life noticeably. Whatever you have on the ceiling, whether it’s a LiftMaster, Chamberlain, Genie, or another major brand, the same basics apply. The brand-familiar technicians on our team have serviced systems on legacy and smart-compatible units alike, and the core maintenance is the same. The differences that matter are usually about matching replacement parts and setting force and travel limits correctly. Here’s what you can do, and what to check.
- Lubricate the opener’s rail and chain (or belt) with the right product; a dry chain or tight chain puts strain on the motor.
- Clean the photo-eye lenses every time you clean the door hardware. Dirty sensors are the most common false-trigger cause.
- Check the wall button and remote for sluggish response; interference or a dying battery is usually the culprit, and both are quick fixes.
- Look at the force and travel settings through the opener’s own set-up menu or the manual’s adjusting screws for older models, but if you’re not sure how, let a technician set them.
- Keep the opener’s housing clear of dust and debris, and check that its mounting bolts are snug. A rattling opener is usually a loose mount, not a dying motor.
If you’re thinking about an upgrade to an app-controlled or battery-backup unit, this is the moment to talk to us. Brand-agnostic advice is what we do; we can recommend what fits your door and budget, whether that’s a chain-drive Chamberlain, a quieter belt-drive LiftMaster, or something else. When it’s actually a bigger job and a full replacement makes more sense than repair, we can handle the whole install. garage door opener repair and installation are core to what we do.
DIY vs. Call-a-Tech: The Tagged Checklist
Here’s the full list in one place, tagged so you know at a glance what’s safe to do yourself and what needs a trained hand. This is the version you’d print and stick on the garage wall. We’ve grouped the tasks so you can work through them seasonally. The rule of thumb: anything involving the springs, cables, opener force adjustment, or a door that’s hard to move is a technician call. Everything related to cleaning, lubricating the moving hardware (not the tracks), and checking seals is yours to handle.
Monthly (Do it yourself):
- Wipe and lubricate hinges, roller stems, and the torsion shaft.
- Wipe the photo-eye lenses.
- Look for rust and salt film on the bottom brackets and fasteners.
Every season (Do it yourself):
- Inspect the bottom seal and threshold gasket for cracks and gaps.
- Clean the tracks with a dry rag; never oil them.
- Check the wall button and remotes work reliably.
Twice a year (Do it yourself, with care):
- Balance check – part-open the door and see if it holds.
- Safety reverse test – photo-eye and block test.
Twice a year (Call a tech):
- Inspect springs and cables for wear by eye, but don’t touch.
- Confirm force and travel limits are set correctly.
Annually (Call a tech):
- Full tune-up covering balance, springs, cables, rollers, and opener.
- Replace any worn seal or bottom panel before the next freeze.
Keep this list. Note the date you did each check. A pattern of notes tells you when a part is genuinely near the end of its life, rather than just guessing. It also gives a technician an honest picture when you call.
Common Mistakes to Avoid
- Painting over a rusted bottom bracket. Paint hides corrosion on a part that’s under real tension. It doesn’t fix the problem, and it makes it harder to spot a failure coming.
- Oiling the tracks. Oil attracts grit and makes the rollers skip. The tracks should be clean and dry; the rollers and hinges are what need lubricant.
- Waiting for spring before checking a winter-worn seal. Syracuse freeze-thaw is the harshest stretch for the bottom rubber. Missing the March-April window lets moisture wick up into the base panel.
- Adjusting your own spring tension. Springs and cables are under extreme tension and this is a genuine injury risk. A trained professional handles every spring adjustment.
- Bumping up the opener’s force setting to force a stiff door. If the door feels heavy, the problem is the door, not the opener. Forcing it just strains the motor and the cables.
- Leaving a torn seal in place because it still touches the floor. It might still hide the gap now, but the rot is already underway. Replace it now, not later.
- Ignoring a grinding sound at the end of the travel. That’s usually the opener gear wearing. Early attention is cheaper than a dead motor.
See the difference
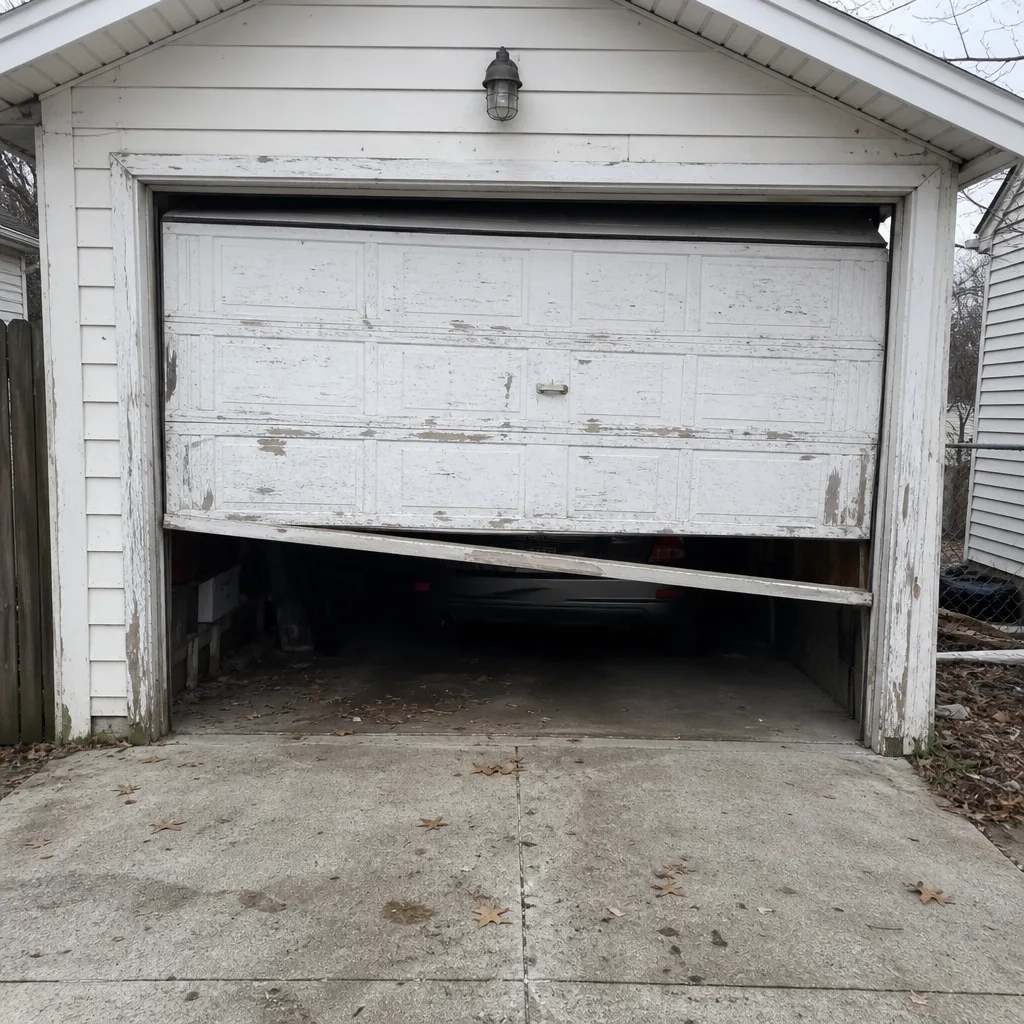 Before
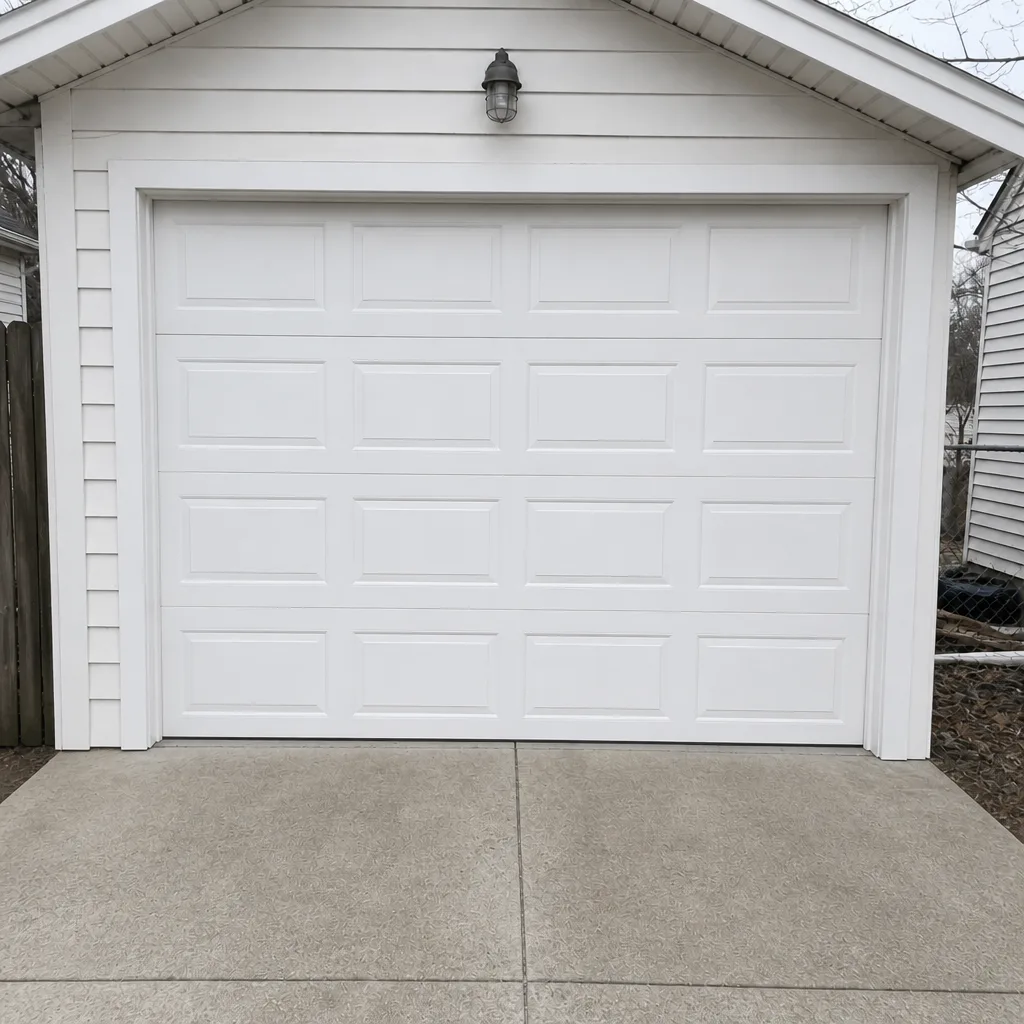 After
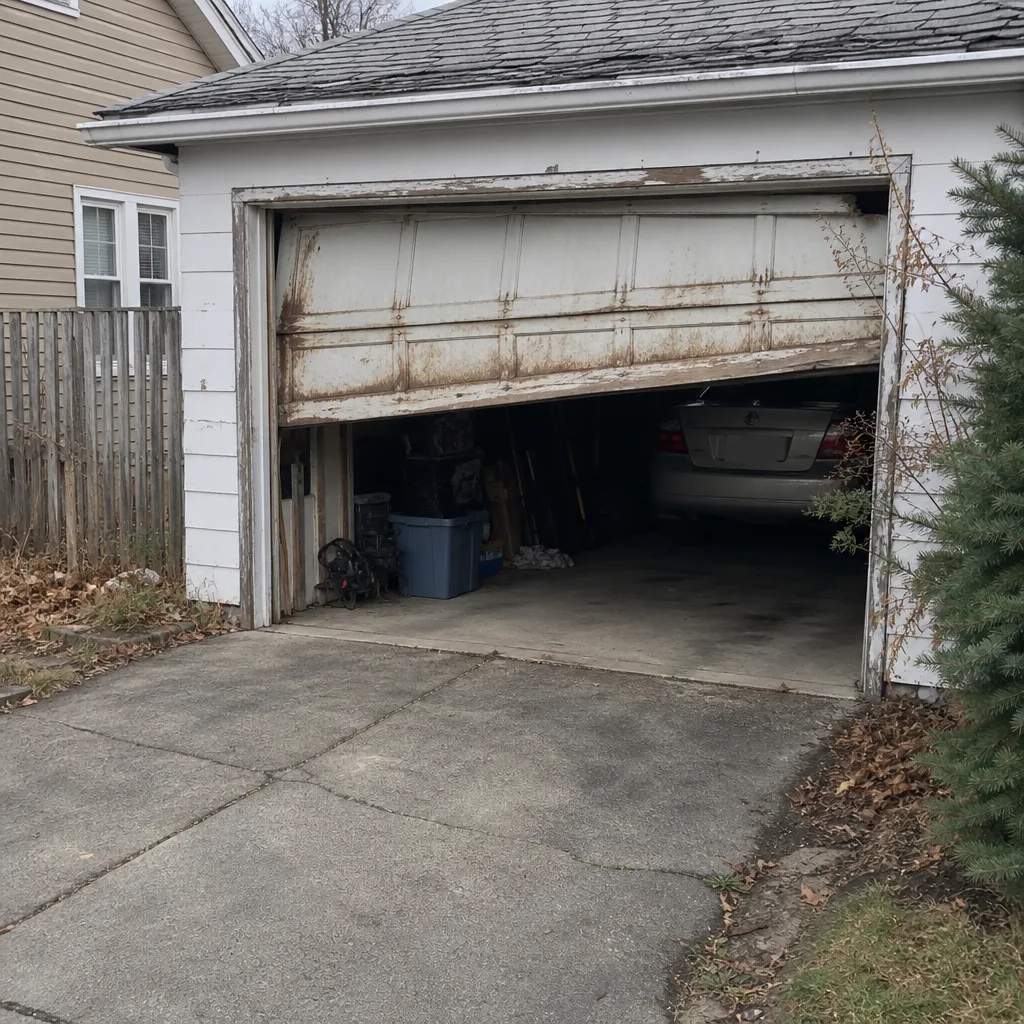 Before
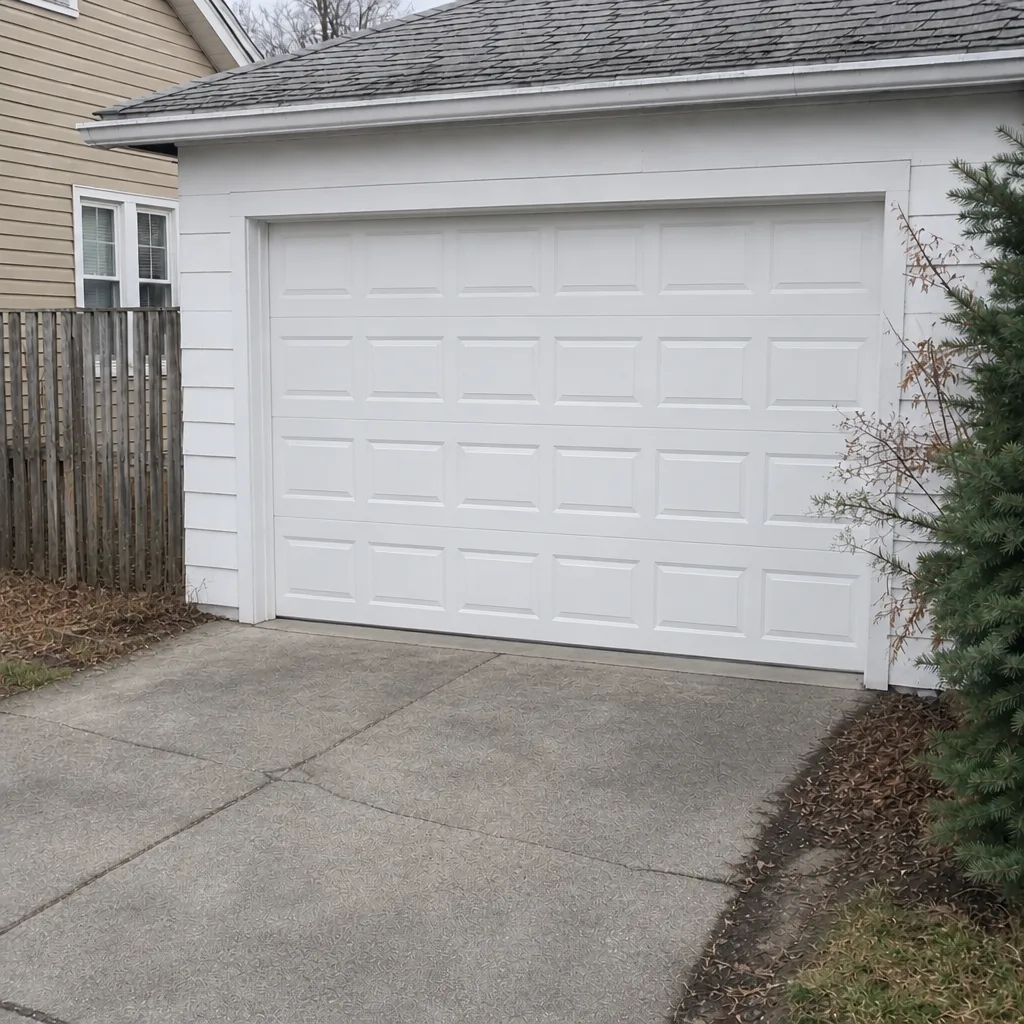 After
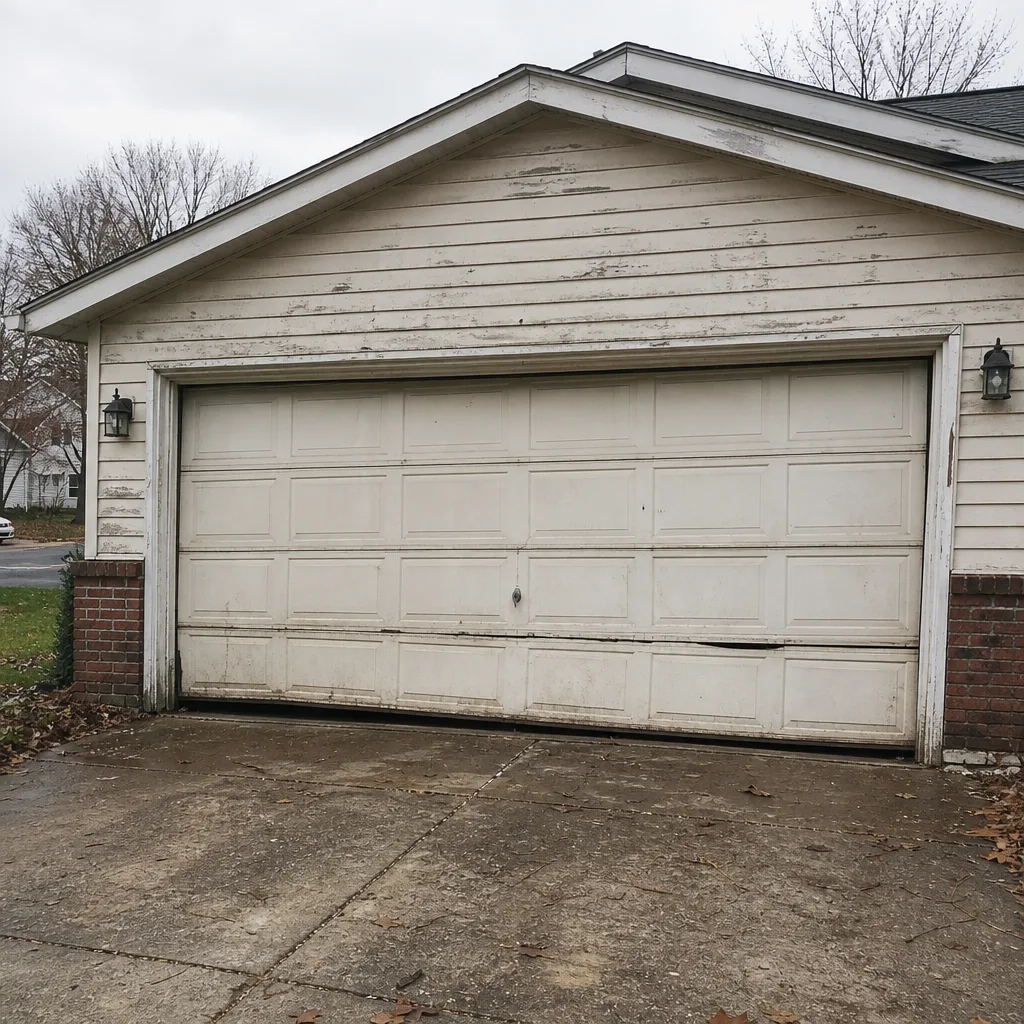 Before
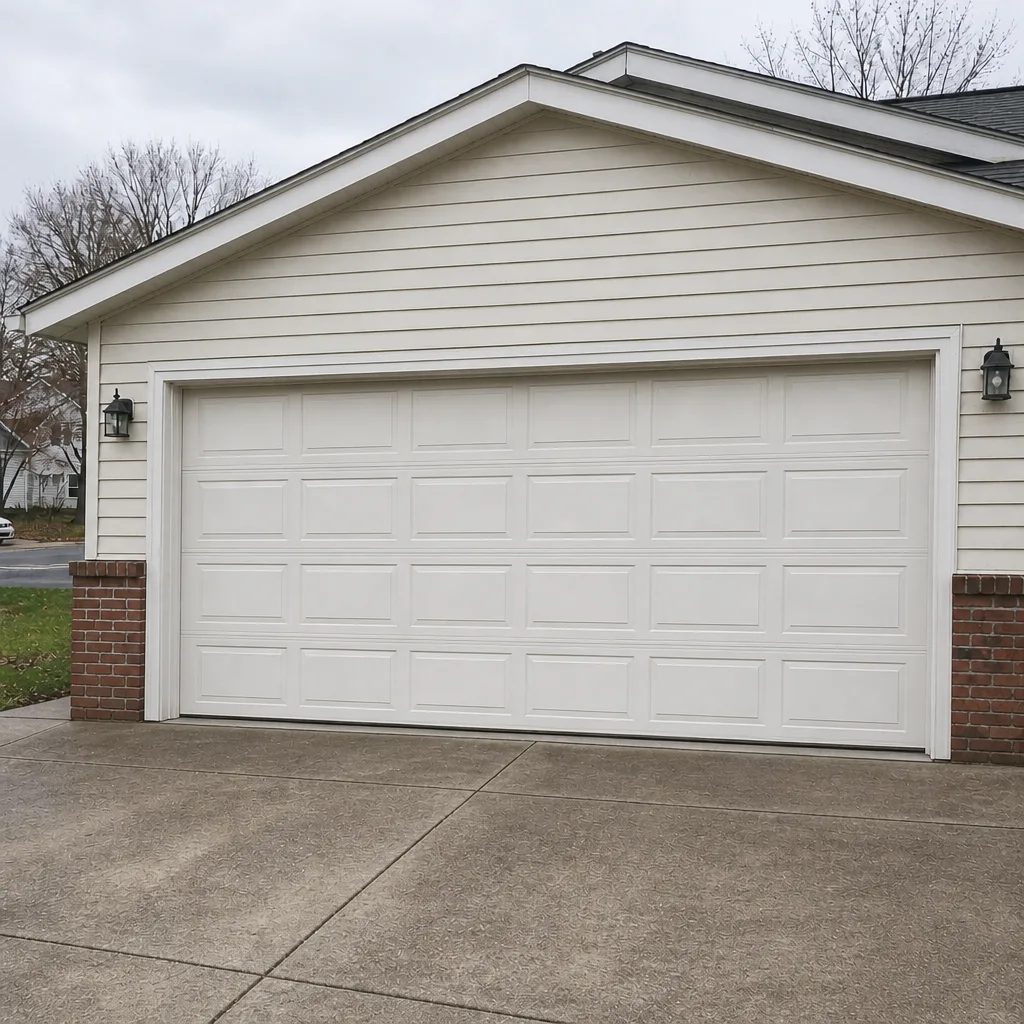 After
When to Call a Professional
Call a technician when the door won’t balance at halfway, when you see a broken or gapped spring, when a cable shows rust or fraying, when the safety reverse test fails, or when your opener strains or grinds. Call us if the door feels too heavy to lift by hand or won’t stay open. You should also call if you’re not able to get on a ladder to check the opener, or you’re simply not sure. Springs and cables are under extreme tension and should never be adjusted by anyone but a trained technician. Southgate Garage Door Service works on the major brands – LiftMaster, Chamberlain, Genie, Craftsman, Raynor, Clopay, Amarr, Wayne Dalton – so whether it’s a broken spring or a failing opener, we can diagnose and fix it. Southgate Garage Door Service offers free estimates in Syracuse – call (855) 360-7984. We answer 24/7, with fast dispatch from 7am to 7pm, Sunday through Friday.
Frequently Asked Questions
Run the DIY checks monthly and the balance and safety-reverse tests twice a year. Syracuse’s freeze-thaw cycle makes the spring seal and hardware checks particularly important every season, and we recommend an annual professional tune-up before winter. The March-April and September-October windows matter most here.
No. Garage door springs are under extreme mechanical tension, and adjusting or replacing them without the right tools and training is dangerous. Have a licensed technician handle it. You can safely look and listen but never touch. Call (855) 360-7984 for an exact quote – estimates are free.
A worn bottom seal, in our experience. The freeze-thaw cycle hardens the rubber, then meltwater wicks up into the base panel and rots it from the inside. Second is worn-out hardware that’s rusted and seized from the salt. Both are preventable with a seasonal check.
An estimated range for a single spring is typically a few hundred dollars, and a matched pair is about twice that, since doors with two springs usually have them replaced together. The written estimate sets the price, and the price is quoted before any work starts. Call (855) 360-7984 for an exact quote – estimates are free.
No surprise pricing here. We provide a free estimate and quote the price before any work begins, and that written quote sets the final number. If the job turns out to need something more, we’ll walk you through it before we touch anything. Call (855) 360-7984 to book the estimate.
Our technicians work on your system as trained, experienced professionals, and they have up to 10 years of experience across major makes and models. We’ll confirm the licensing and insurance details when you call. Reach us at (855) 360-7984.
The Bottom Line
Most garage door failures in Syracuse are preventable. The bottom seal and threshold gasket take the worst beating, the salt season and freeze-thaw wear out hardware, and the springs and cables always deserve a professional eye. Handle the cleaning, lubricating, seal checks, and safety-reverse test yourself, and call a trained technician for springs, cables, and force adjustments. Be deliberate about the March-April and September-October windows, and have a full professional tune-up once a year. Do that and your door survives a Syracuse winter. Our team works on the major brands, whether it’s a broken spring or a full new door, and we give free estimates.
If you’d rather have an experienced eye on your door, or you suspect a seal, spring, or opener issue, reach us at Southgate Garage Door Service. Call (855) 360-7984 for a free estimate. We answer 24/7. Fast dispatch from 7am to 7pm, Sunday through Friday. Syracuse homeowners get a straightforward diagnosis, brand-agnostic advice, and a written price before any work starts. See our full list of services at Southgate Garage Door Service.
Written by the team at Southgate Garage Door Service.